ROSETTA must be installed on the local system before AMPLE can be used to generate coiled-coil ab inito models. AMPLE needs to know the location of the ROSETTA installation in order to find all of the various tools it needs for creating decoy structures. Please ensure that the path to the ROSETTA top level directory is specified in the interface or with the -rosetta_dir flag if using a script.
Note
ROSETTA is a comprehensive package and requires compilation from source code. For a detailed explanation about how to install ROSETTA see ROSETTA installation.
AMPLE requires a FASTA file and an MTZ file in order to run. There are some other files required, which will be described below.
Note
You can download all the data files here.
For ab initio modelling ROSETTA requires Robetta fragment files (3 and 9 residues), (fragment files can be generated using the Robetta online server. Note that registration is required for this service). For this example these fragment files have already been calculated and part of the downloaded files.
An example scripts to run AMPLE in coiled-coil mode is shown below:
Note
Coiled-coil mode is currently only available on UNIX operating systems as it requires a Rosetta installation.
$CCP4/bin/ample \
-rosetta_dir $rosetta_dir \
-fasta input/1g1j.fasta \
-mtz input/1g1j.mtz \
-frags_3mers input/aat000_03_05.200_v1_3 \
-frags_9mers input/aat000_09_05.200_v1_3 \
-multimer_modelling tetramer \
-nmodels 30 \
-nmasu 2 \
-coiled_coil True \
-shelxe_rebuild_buccaneer True \
-shelxe_max_resolution 4 \
-nproc 10 \
-show_gui True \
First we set the path to the location where ROSETTA is installed. This is then input into ample using the -rosetta_dir flag.
Next we need to provide the locations of our input files, this is done using the following flags:
-fasta_input – location of the FASTA file.-mtz_input – location of the MTZ file.Then we can set up how Rosetta is run:
-frags_3mers – location of the 3 residue fragment from the Robetta server.-frags_9mers – location of the 9 residue fragment from the Robetta server.-nmodels – (optional, default 1000) flag to specify the number of models we want to make with ROSETTA.Note
In this test case only 30 models are created as we known Rosetta models this structure well . However, in a typical AMPLE run we will generate at least 500 models to increase the likelihood that the correct fold is modelled.
-multimer_modelling - (optional, default monomer) flag to activate the modelling of multimers instead of monomers. Options: [Dimer | Trimer | Tetramer]Finally we can specify some options about how AMPLE will run. Here we use:
-coiled_coil – flag which tells AMPLE that the target protein is a coiled-coil and that coiled-coil protocols should be enacted. For example, tNCS correction in Phaser is disabled as the internal symmetry of coiled-coils frequently gives rise to non-origin Patterson peaks. Full details can be found in Thomas et al. 2019 (publication pending).-nmasu – specify the number of models to place in the ASU.Note
The number of molecules places in the ASU can be different from the number of molecules modelled through multimer modelling.
-shelxe_rebuild_buccaneer – Rebuild SHELXE traced pdb with buccaneer - This can be useful for lower resolution coiled-coil cases.-shelxe_max_resolution – (optional, default 3.5) in coiled-coil mode, shelxe is run on data that diffracts up to 3.5 angstroms. This flag can be used to increase or lower this threshold.-nproc – lets you specify how many processors you want to use.-show_gui - Flag to display the AMPLE gui. This is set by default when running through CCP4i or CCP4i2 but must be manually set on the command line to generate the output GUI shown below.For a full list possible options see AMPLE options.
On starting a separate window will appear summarising the progress of AMPLE and any results. The window will contain up to four tabs, the contents of which are explained below:
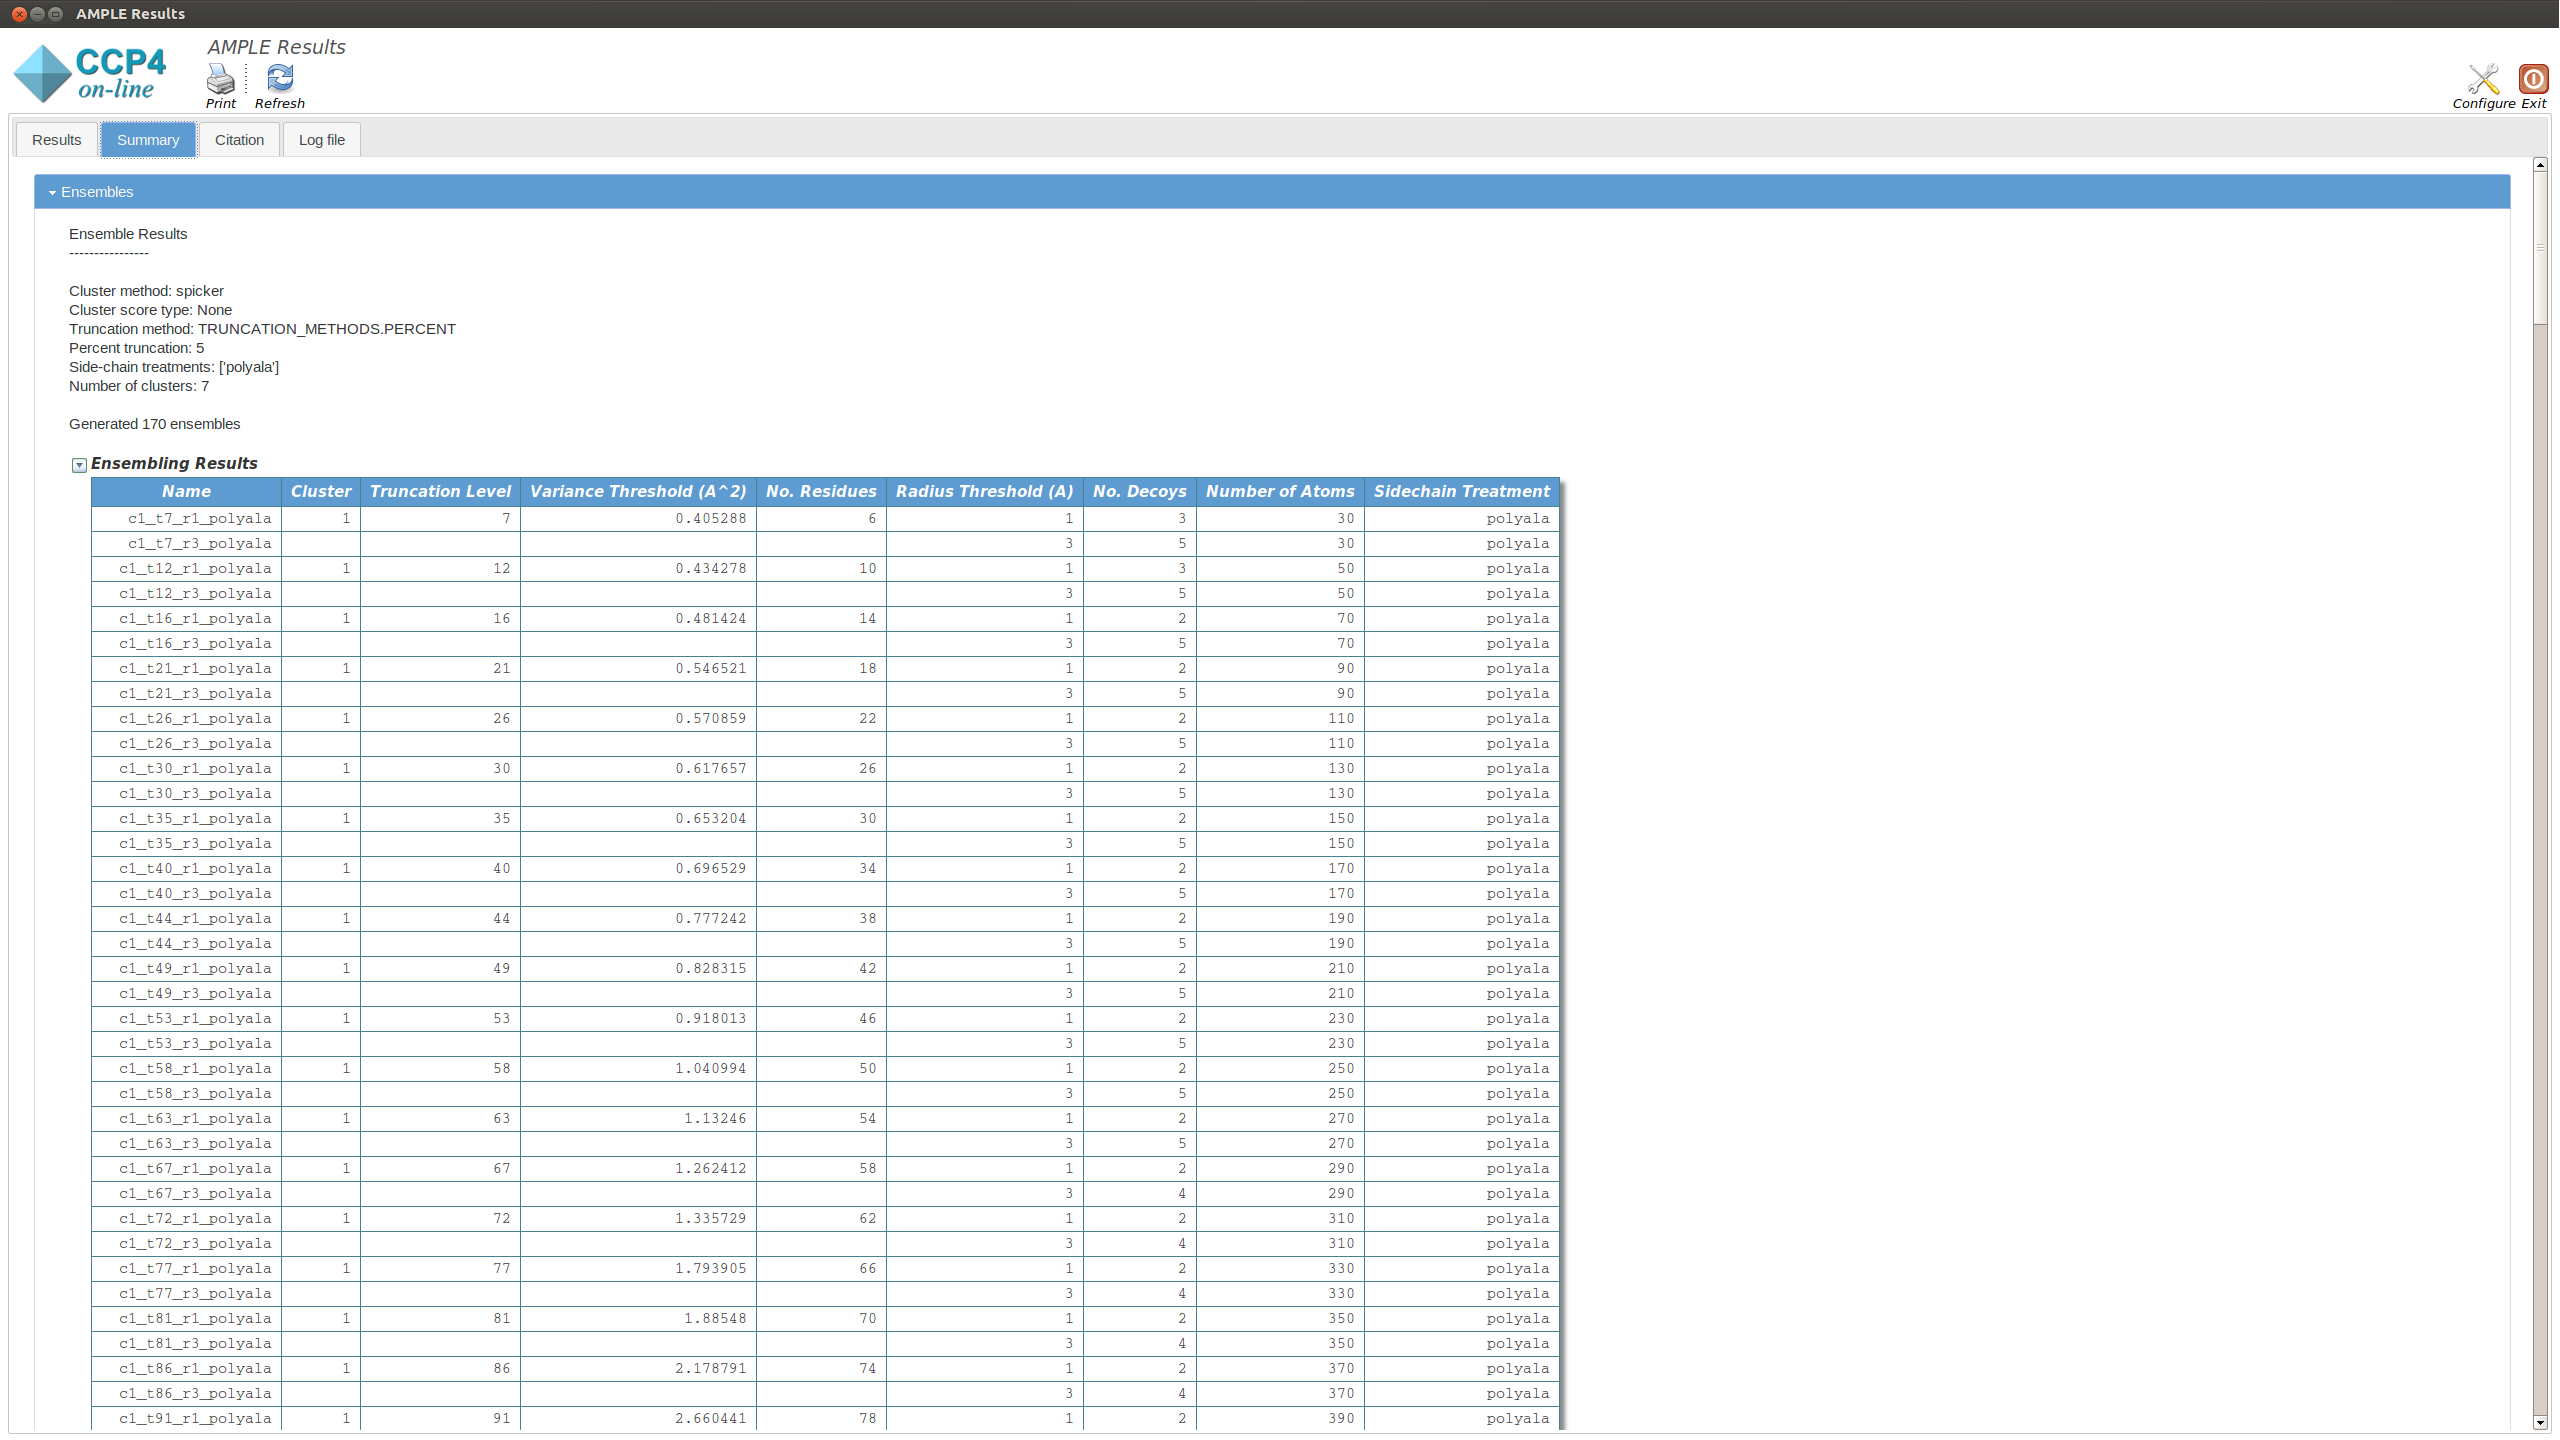
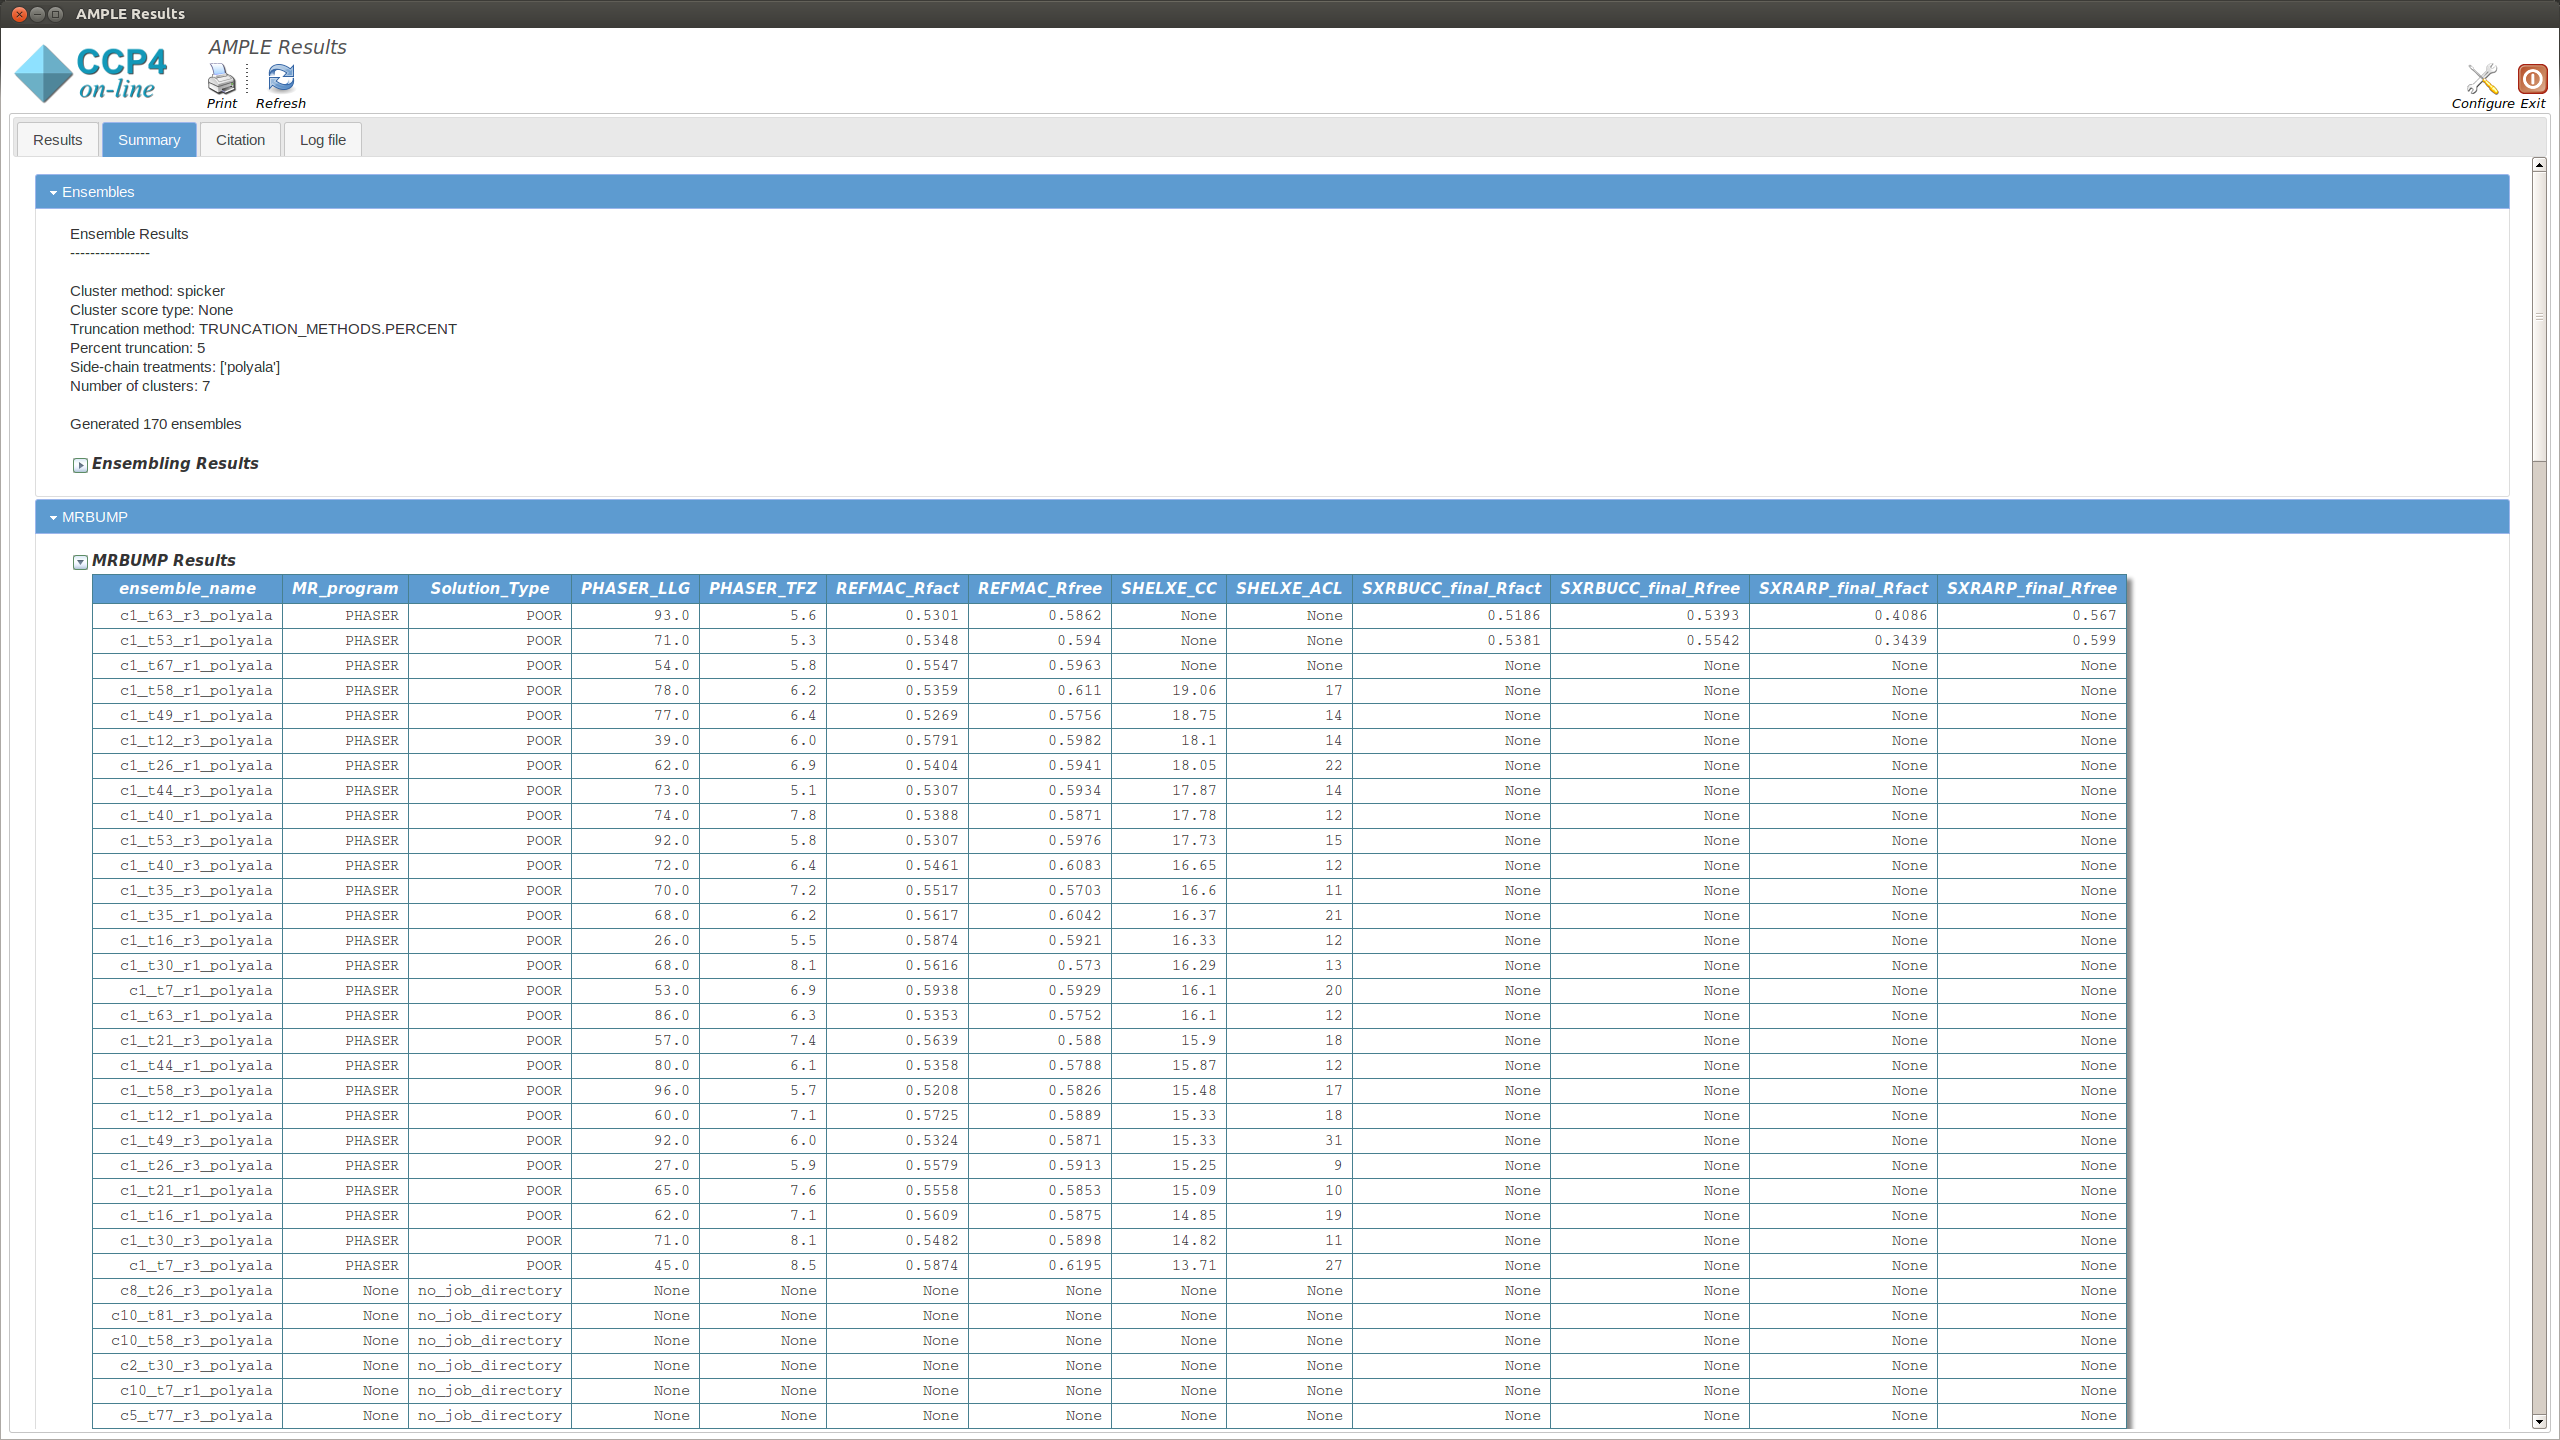
The summary tab contains different sections. Below you can find information about each:
There is a brief summary of the type of truncation that was undertaken and then a table listing each ensemble. The columns of the table are:
This section displays a table with the results of running MrBUMP on each of the ensembles, for this example you will have information for the following headings.
The Results tab displays the final results of AMPLE after running MrBUMP on the ensembles.
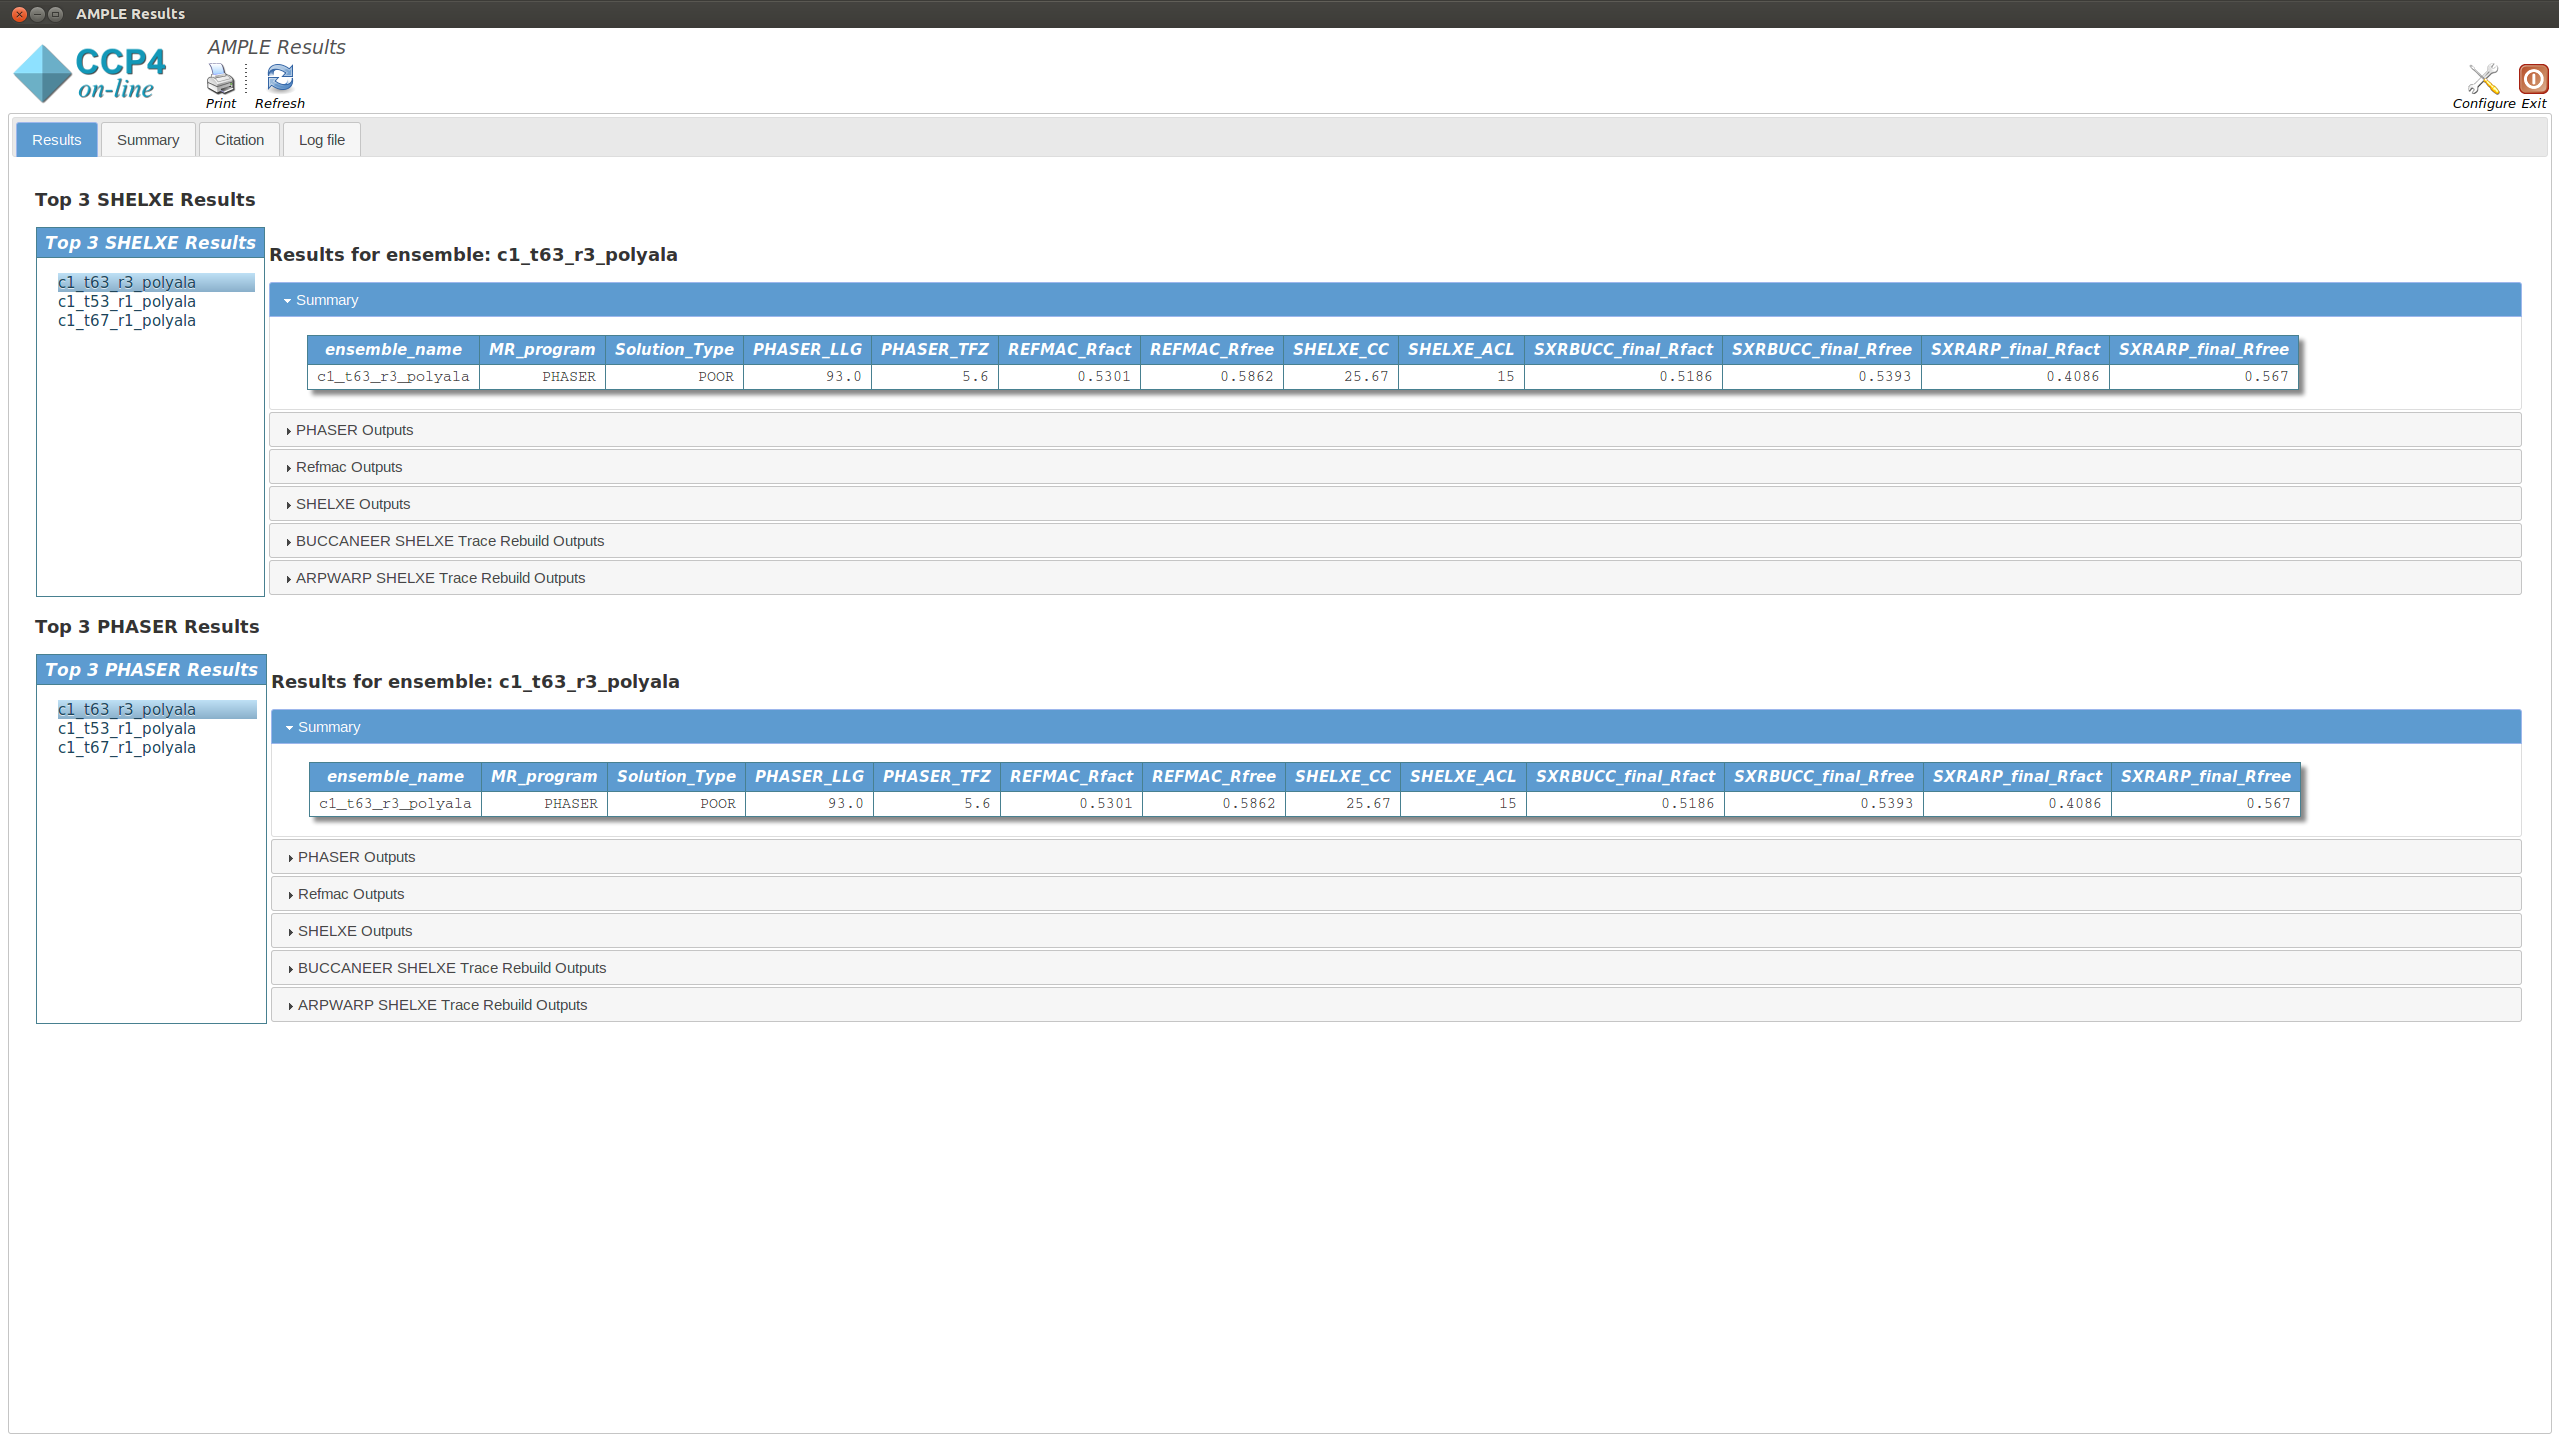
The tab is split into two sections. The upper section shows the top three results as ranked by their SHELXE CC score. The lower section shows the top three results as ranked by their PHASER TFZ score. These may or may not be different. Within each section, the left-hand menu displays a list of ensemble names – these match the names from the Ensembles section in the Summary tab. Clicking on any item will display the results for that ensemble in the central pane. At the top is a table that matches the MrBUMP entry from the Summary tab, and there are then sections for the files output by each program run by MrBUMP. The files can either be displayed directly or opened directly with COOT or CCP4MG using the displayed buttons.
Typically a result with a SHELXE CC score of 25 or higher and a SHELXE ACL of 10 or higher will indicate a correct solution.
Note
The results you obtain may be slightly different to those presented above as you are generating a new slightly different set of ab initio models.
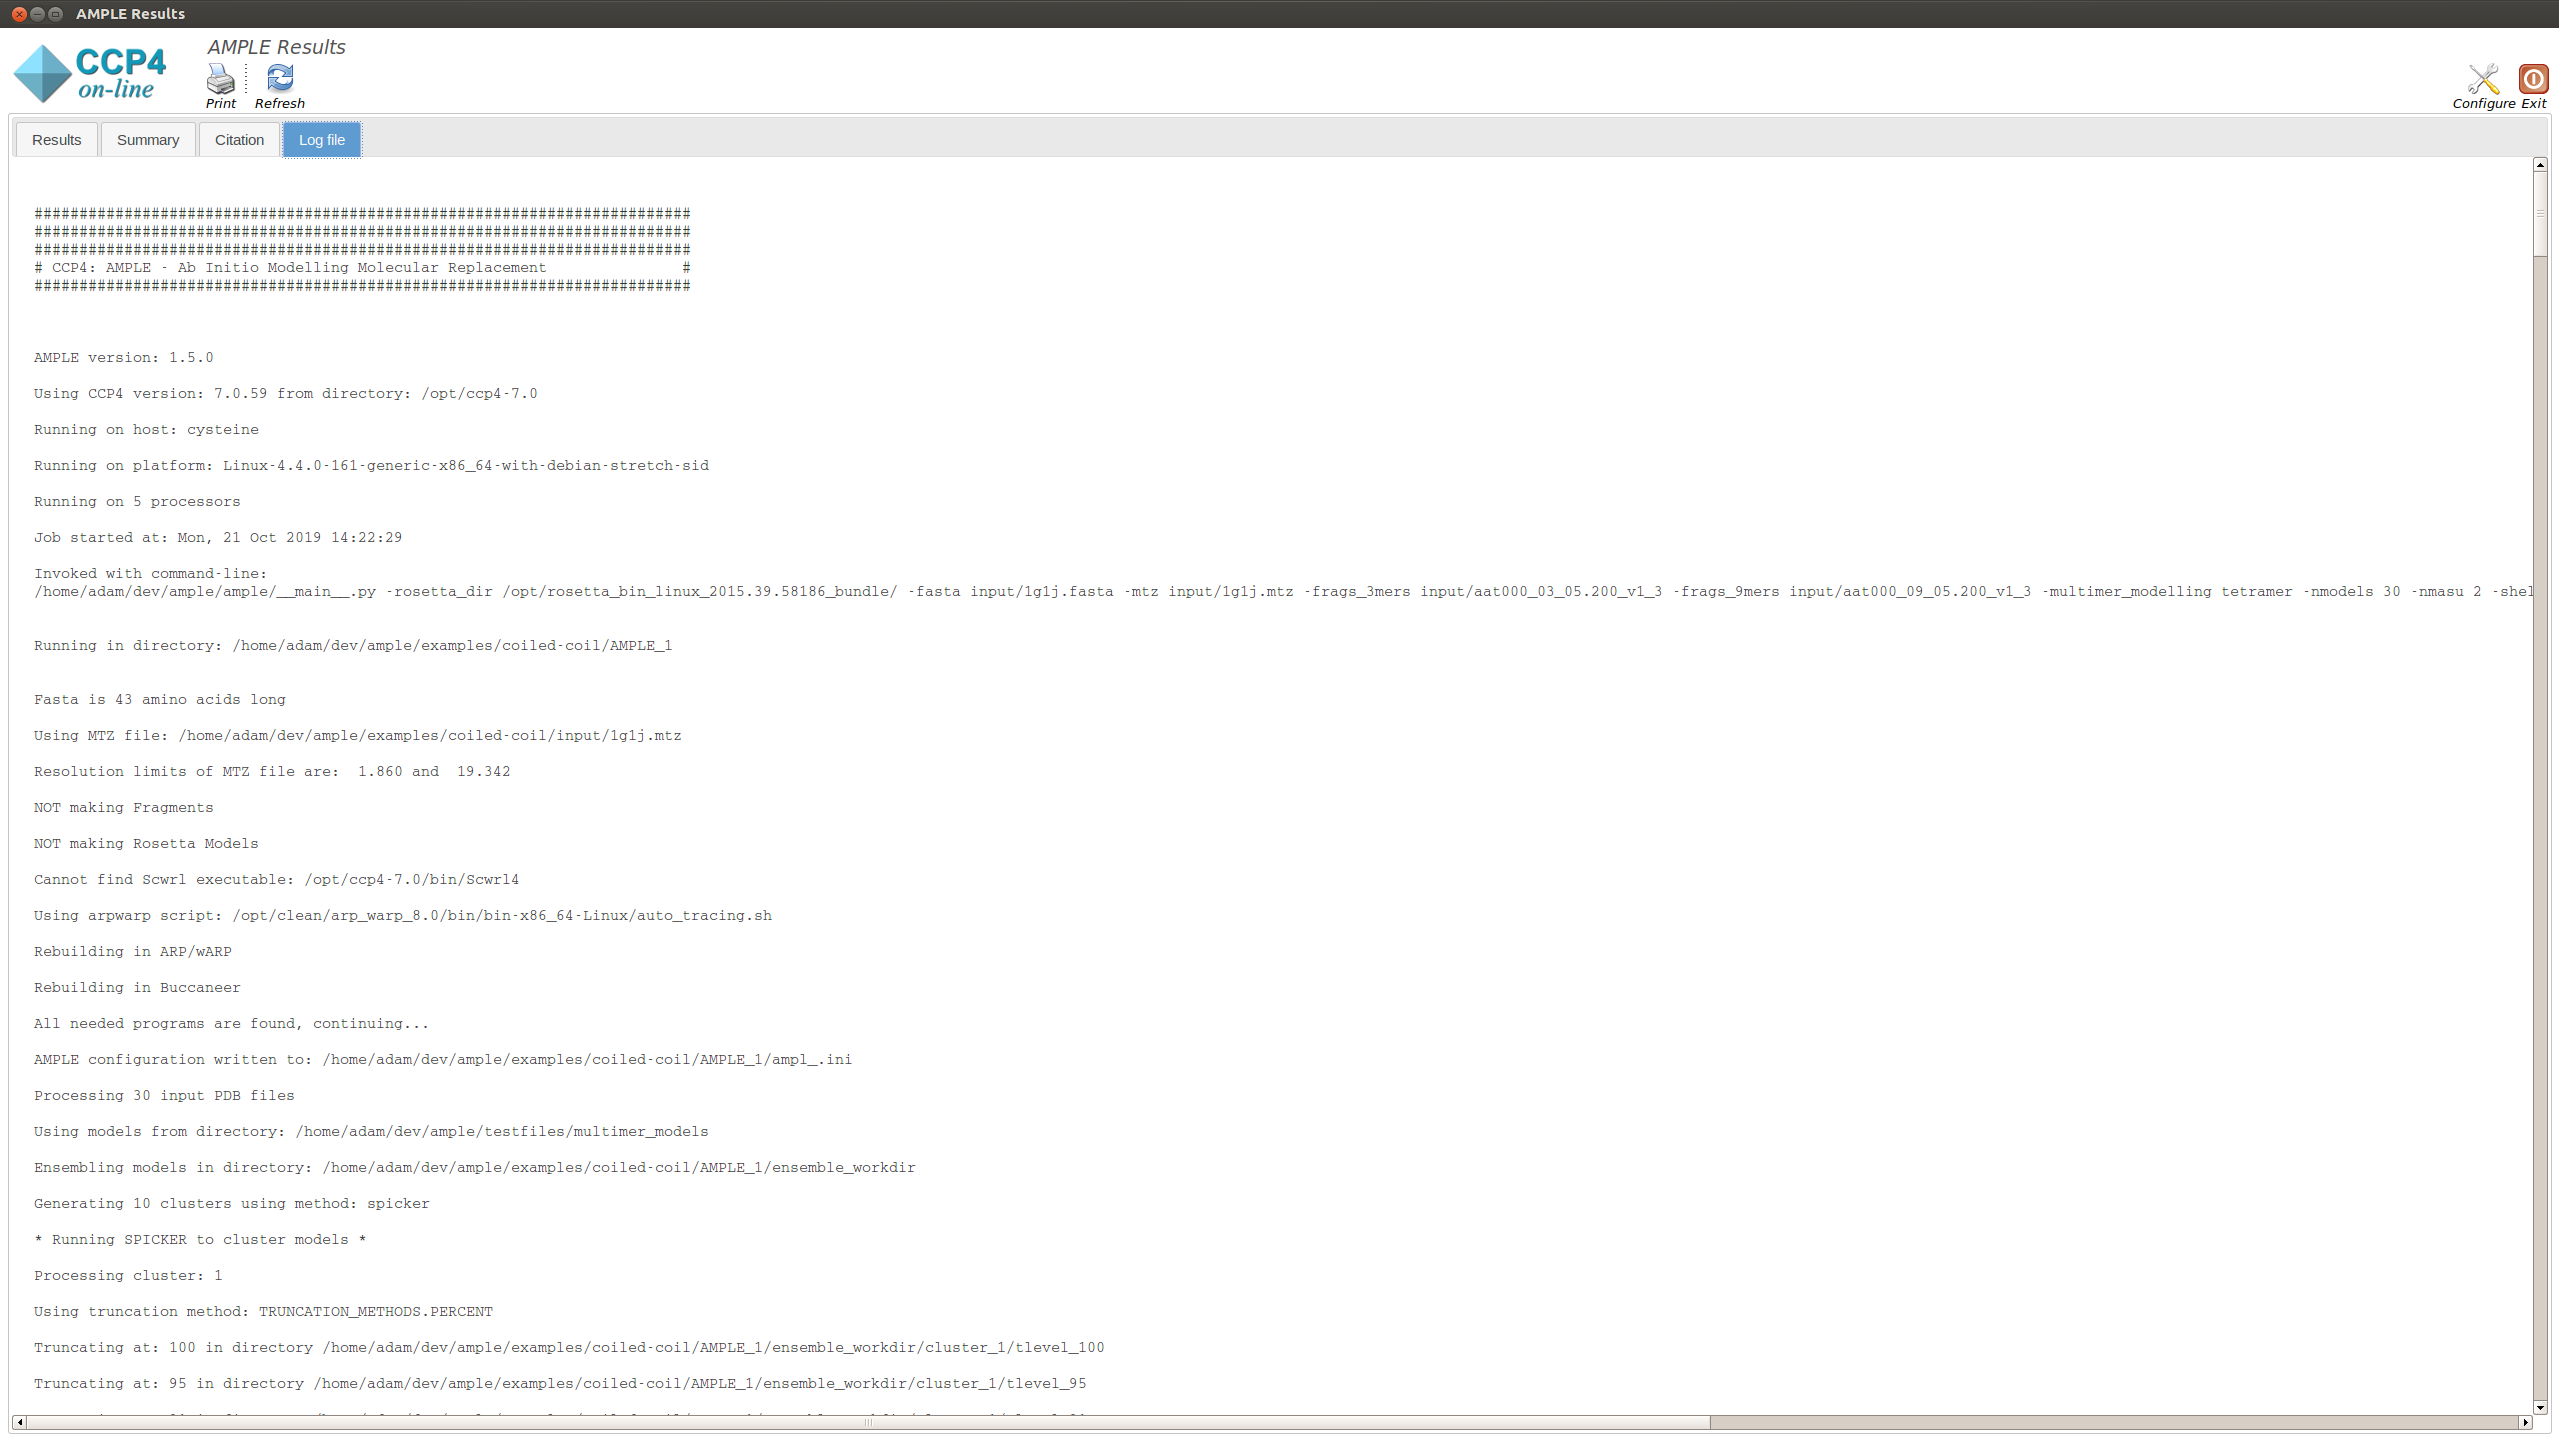
This displays the text output by AMPLE as it is running. Any problems or errors will be displayed here.
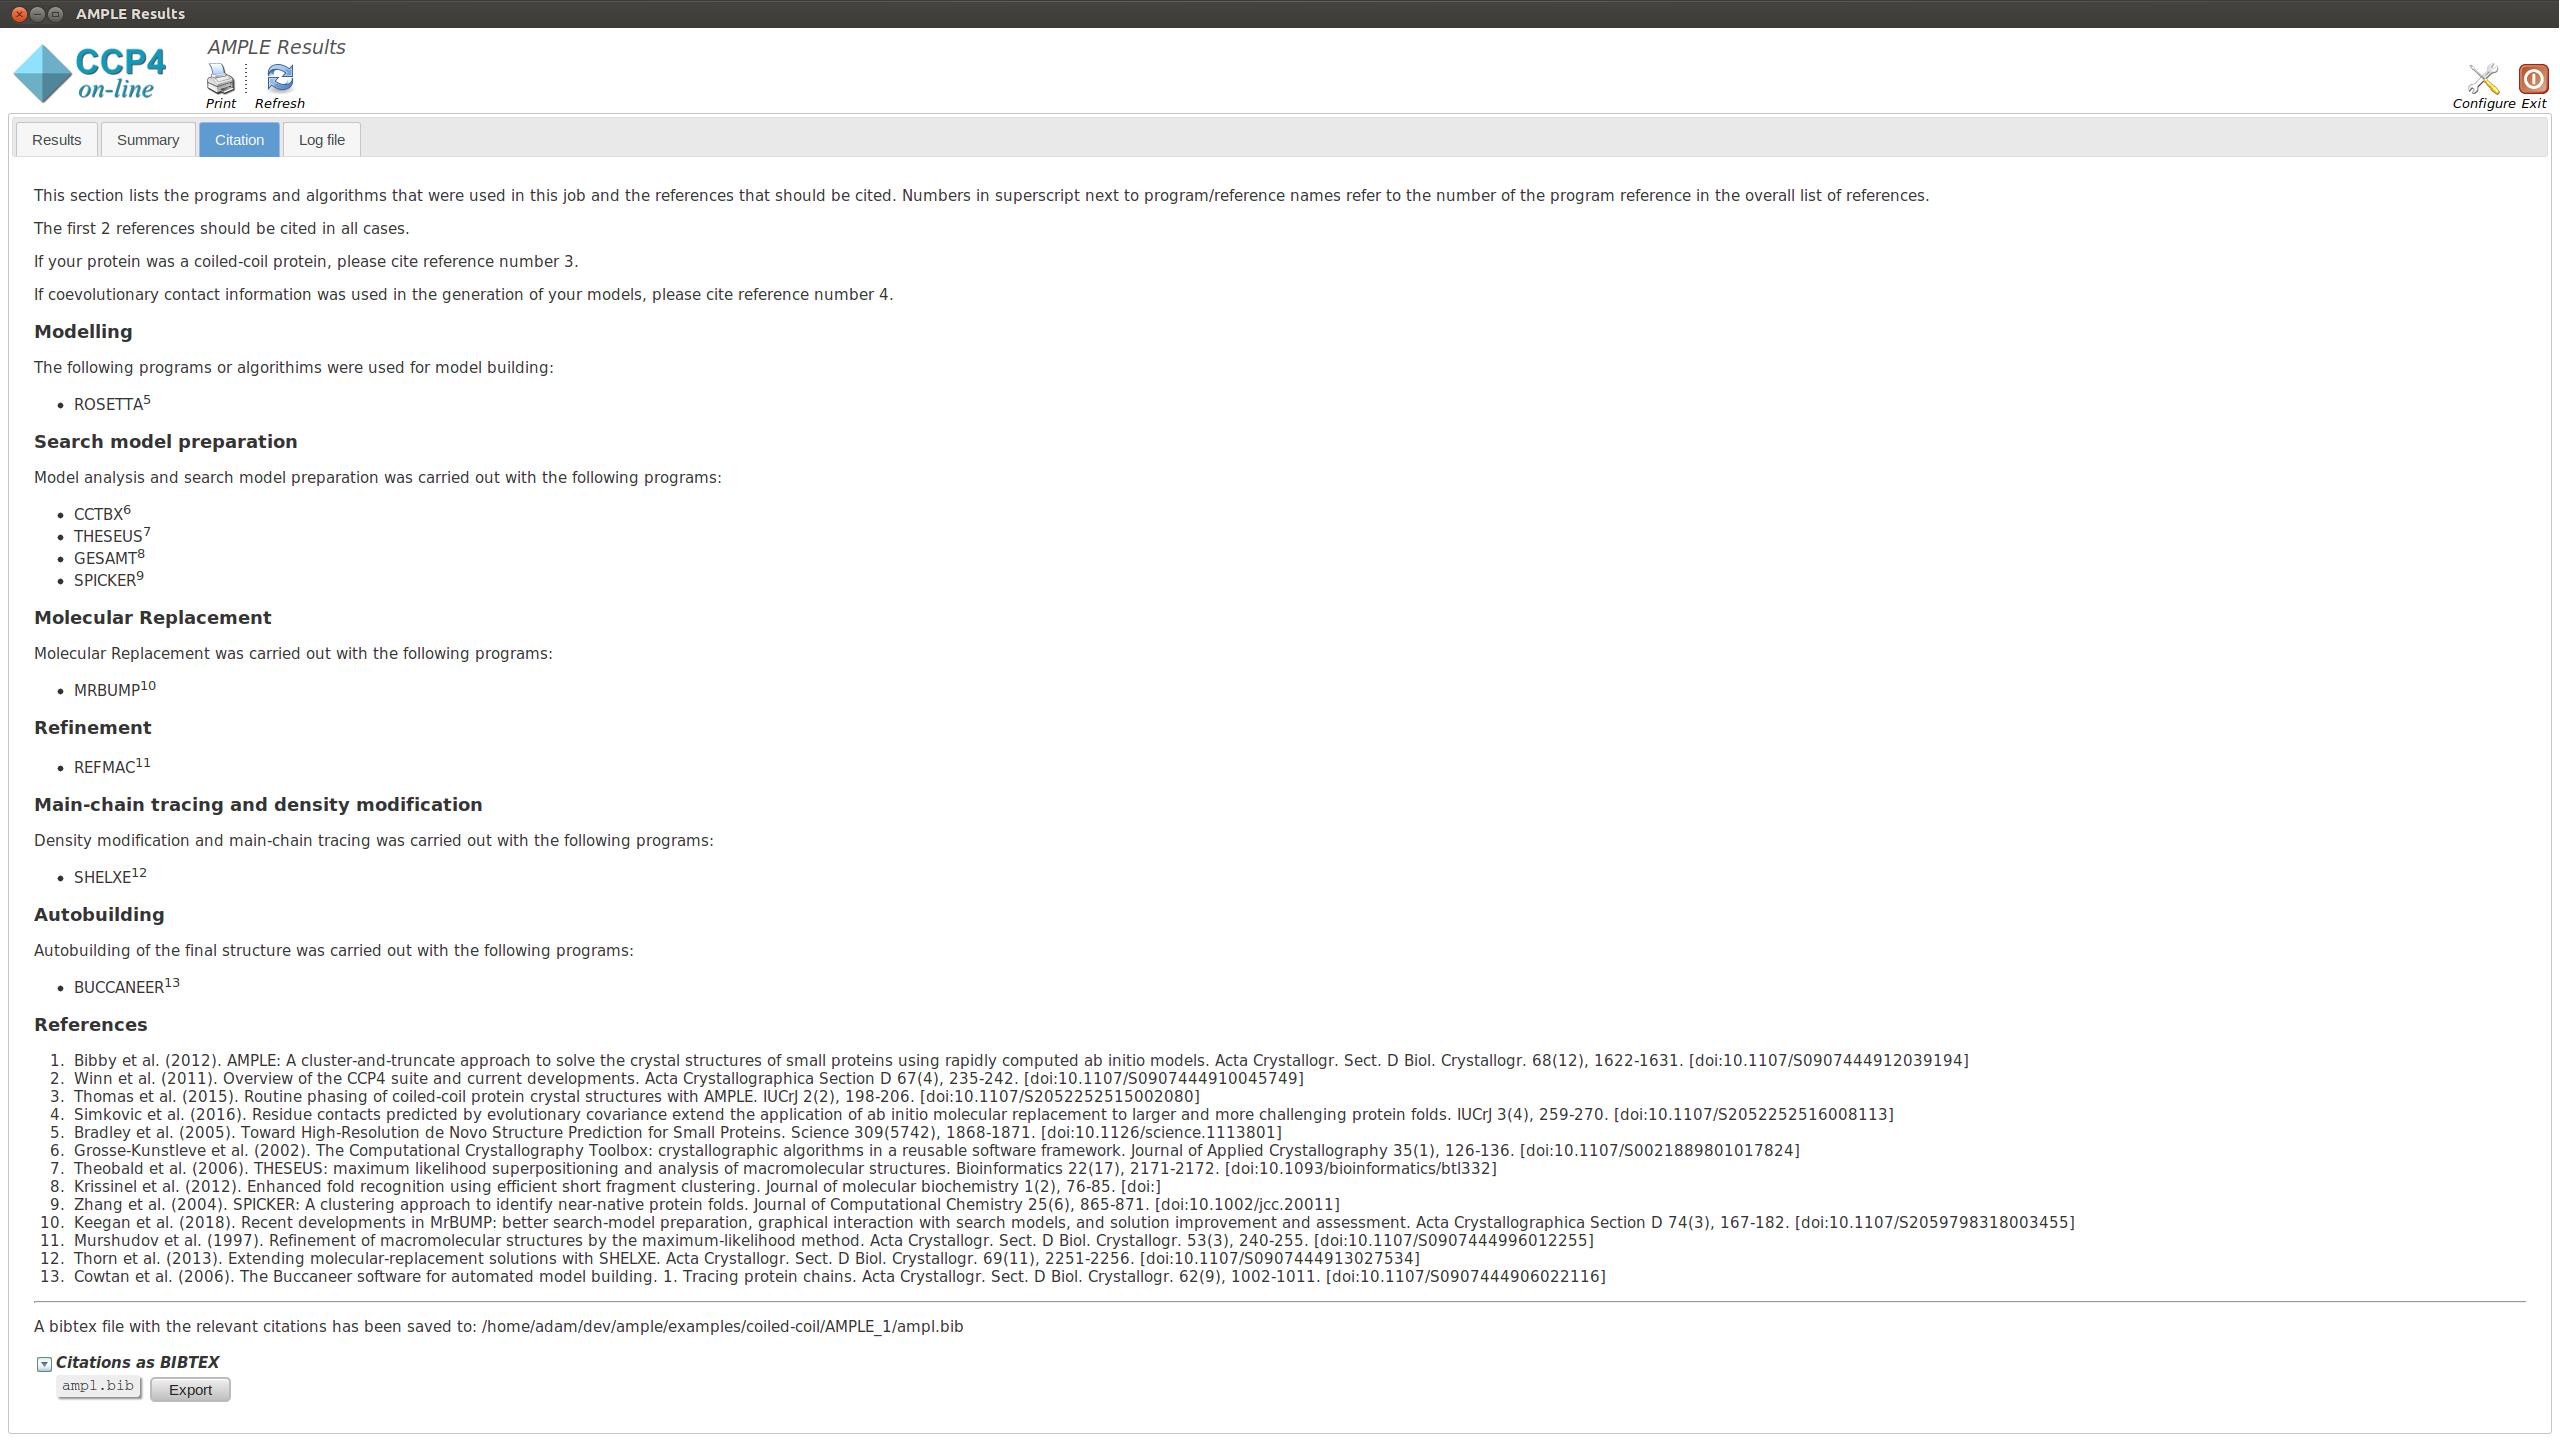
This section lists the programs and algoriths that are using in the AMPLE job and gives a list of references to be cited should AMPLE find a solution.